Masternodes secures the coins network, it enables special functions on the blockchain and it also generates a steady flow of passive income to its owners. If you are new to masternodes or don’t know what it is then before you get into this topic it is very important that you understand how masternode works. Here this guide explains the process of both masternodes and staking.
Most masternode coins are build on same codebase so basically the requirements and the setup process are all the same. If you are looking to operate a masternode then there are several masternode guides out there for beginners which specifically covers a particular coin. Most of these guides tells users to get a VPS and then it gets straight into the setup process such as installing dependencies, creating swap file, running masternode installer, configuring the local wallet to successfully running the masternodes. But it doesn’t explain what a VPS is or why VPS is required for masternodes.
Masternode VPS
A VPS (Virtual Private Server), also known as cloud server which is a fully functional installation of an operating system running in a virtual machine. Now masternodes are special nodes which in order to perform its duties on the blockchain it needs to be up and running 24 x 7 without any interruptions. A VPS is the only ideal solution for hosting masternodes as it offers static IP address and ensures guaranteed up-time. Previously in one of our posts we’ve explained why VPS is required for masternodes and why running masternodes from a desktop computer won’t work.
Alright! Now as you have understood the importance of VPS for masternodes you might be wondering which is the best VPS for masternode hosting.
When it comes to choosing a VPS for your masternodes you need to take note on the following features: easy to deploy / manage the server, cost-effective, up-time, reliability and responsibility. Both Digital Ocean and Vultr are good at offering this. They are the most suitable hosting providers to host masternodes. Just a week ago we made a guide on Digital Ocean VPS. Likewise in this guide we’ll show you how to setup masternode server on Vultr. But why Vultr?
Vultr VPS for masternodes
Well, Digital Ocean is an outstanding hosting provider. They are reliable, reputable, their servers are easy to manage and the pricing is also cheap. However one thing is that they do not accept Bitcoin as a payment which is one reason to choose Vultr.
Vultr is a global cloud hosting solution that offers a variety of options for server hosting. Vultr VPS is easy to setup / manage and they provide the best user experience, support. Plus the features, specifications and pricing are almost identical as Digital Ocean except with one added benefit that is accepting Bitcoin as a mode of payment. This is very convenient feature for masternode owners as it allows them to easily cover the server fees through masternode rewards. This is one reason why Vultr remains the most favorite hosting provider for many masternode operators.
Alright! Now let’s create an account and deploy our first masternode server on Vultr.
But before that we’d like to let you know that that this is not a complete beginners guide. It does not cover how to setup masternode. We’ll only explain the server part that is choosing the right masternode VPS and accessing the VPS via SSH. This tutorial is for inexperienced users who does not know much about servers or have basic knowledge on Linux.
Account creation on Vultr
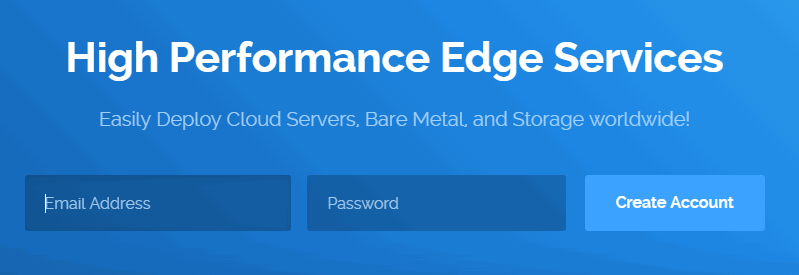
First head to Vultr and create a new account.
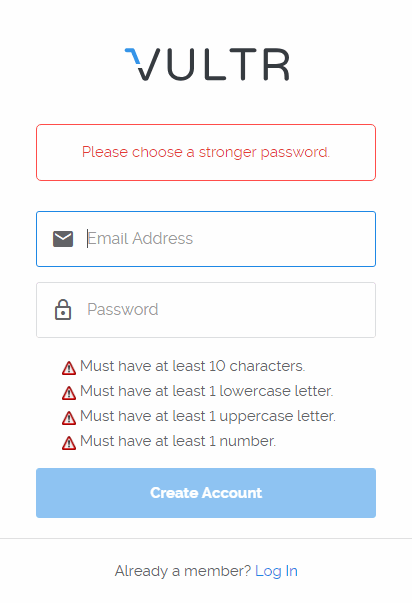
Enter your email address, set a strong password and click on create account which will now take you to the billing page.
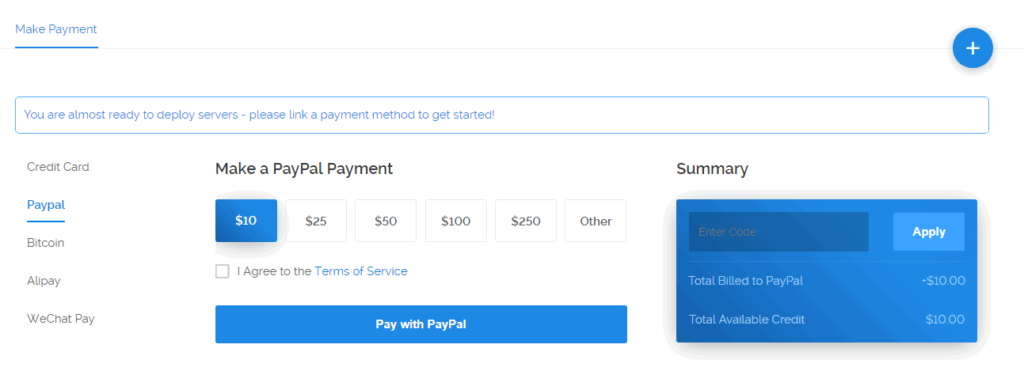
Vultr accepts Bitcoin but not initially. Your account must be funded by credit card or PayPal before making a Bitcoin deposit.
Choose the payment mode, select the amount to credit your account and then complete the billing process. Meanwhile go ahead and verify your email address. Once it is done you are ready to deploy servers.
Deploying masternode server on Vultr
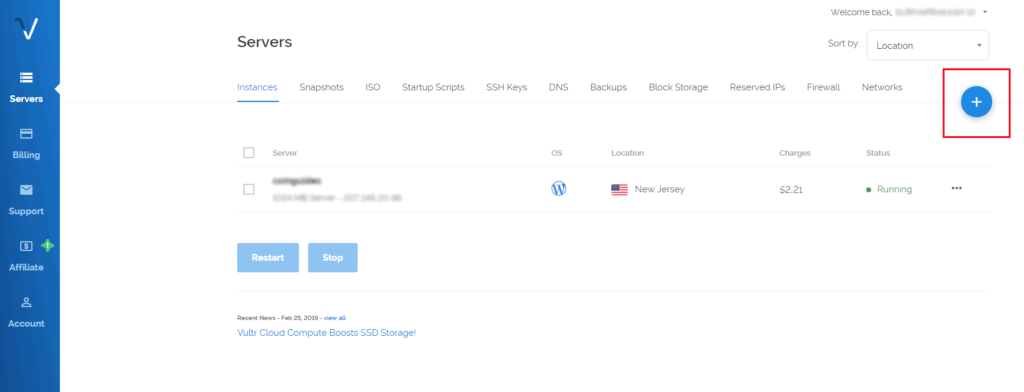
Once the registration and billing process is done, login to your account (my.vultr.com). Now navigate to servers menu and at the top right corner click the plus sign to create a new server.
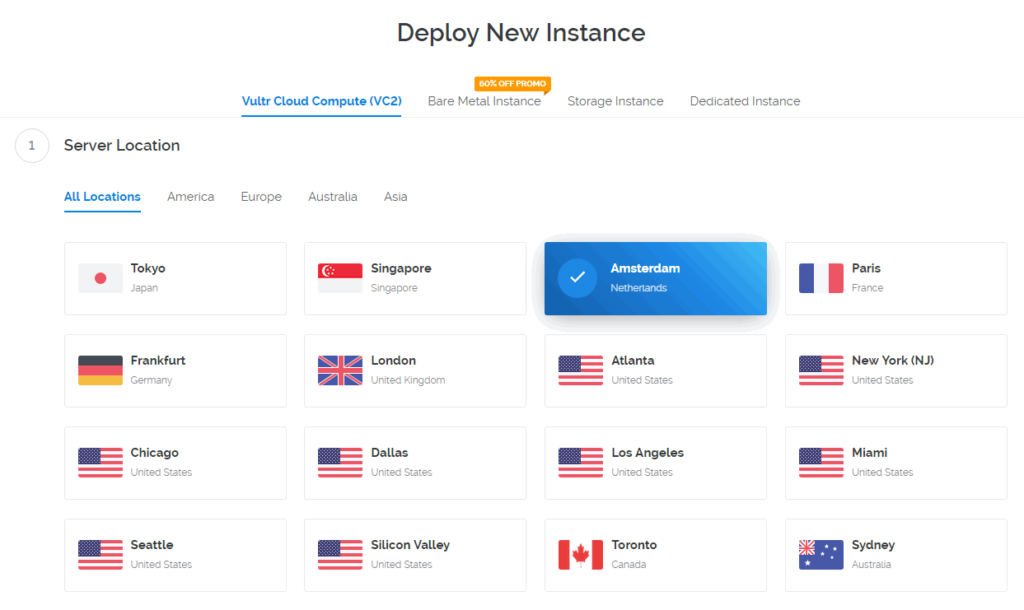
Choosing server location
Your server location doesn’t matter at all for masternodes so it is up to you to choose the location. Either choose a location close to you or anything that you wish.
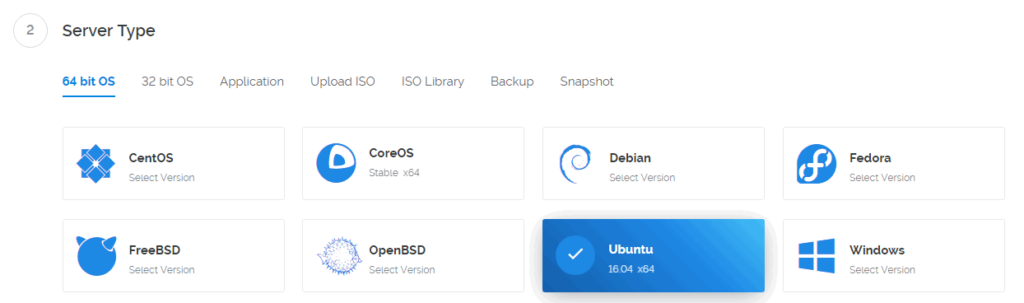
Server type
Server type is nothing but the operating system that you would like to install in your VPS. You can run masternodes on both Windows as well as Ubuntu OS. But as most recommend we suggest you to choose the Ubuntu 16.04 x64 as the server type.
Not to worry if you do not know how to operate Ubuntu OS. We have a separate article explaining the basics which we’ll share at the end of this article.
Server size
Vultr VPS plans starts from $5 / month which includes: 25 GB SSD (storage), 1 Virtual CPU, 1 GB of RAM and 1000 GB bandwidth. This plan is more than enough to host 1 or 2 or even 3 different masternodes (depends on blockchain size) on the same server.
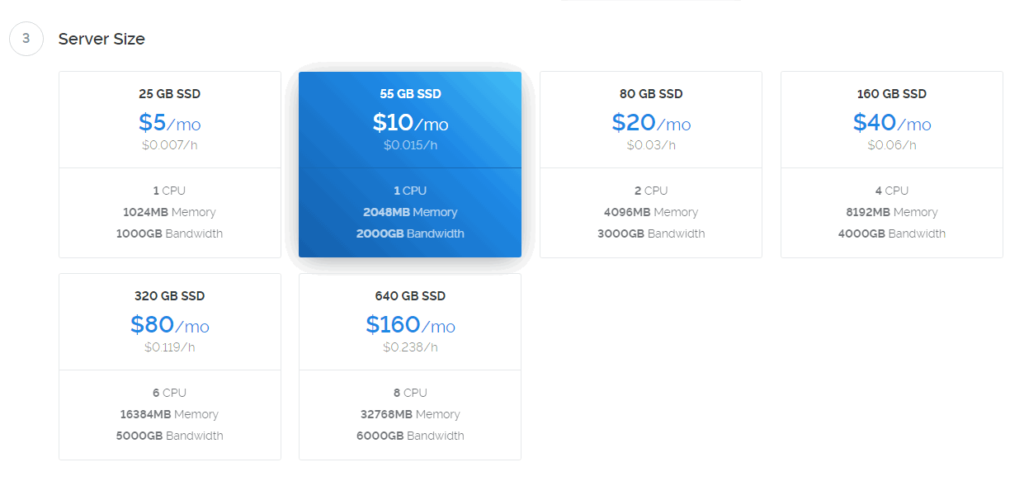
But remember that it is not advised to run more masternodes in parallel especially if the server is low on memory. It could crash or restart often which in turn will affect your masternode payments. Also the 1GB RAM is not enough to compile binaries in which case you’ll need to create swap file. For this reason we suggest you to choose the server size which is offering atleast 2GB of RAM. The $10 / month is suitable to run multiple masternodes. In addition to 2 GB RAM you’ll get 55 GB SSD and 2000 GB Bandwidth. Alright! let’s complete the server setup.
Additional features and settings
Under additional options check IPv6 to activate the feature for free. Auto backups and DDOS protection is not needed for now. Enter server host name and label for your VPS. Then finally choose how many instances you want to create (server quantity which is 1) and then click on “Deploy now”.

Vultr will start installing your server. This process will take few minutes and once it is done you should see the status as “Running”.

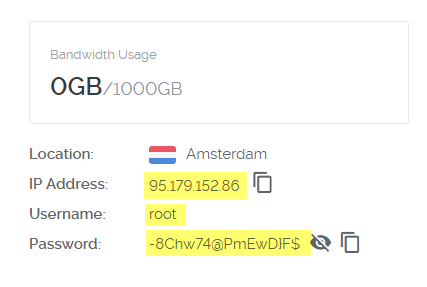
Your server is now up and running. Once the installation is complete click on manage server to take note on the server details. Now to connect to your remote server we need the following details:
- Server IP Address
- Username and
- Password
You’ll find this information in the overview page of your server dashboard. Copy these access credentials to connect to your VPS.
Accessing VPS via SSH
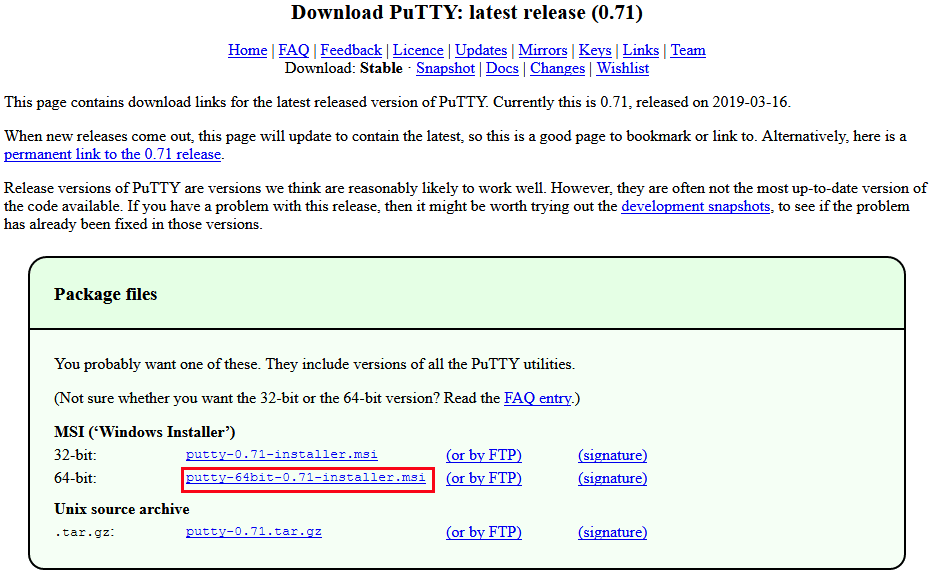
Now to securely connect to your remote server we need a SSH client. While Mac and Linux users can access the server using their terminal window; Windows users needs to download the application called PuTTY.
Download PuTTY: https://www.putty.org/
Note: We’ve explained about PuTTY in this guide. Jump to “connecting to remote server” section.
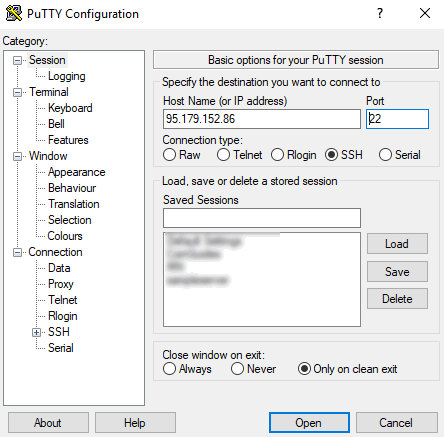
Open PuTTY, enter your VPS IP address, select port as 22, choose connection type as SSH and then click on open. You may now see certificate warning; just click yes and it will open the command line window.
Now connect to your remote server using the login credentials which you copied before.
Login as root, copy the password, right click to paste and hit enter.
Note: For security reasons you won’t see anything being displayed in the password field.
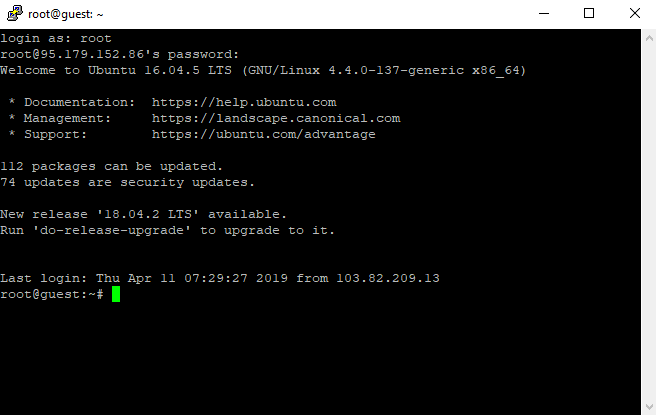
You are now connected to the server.
Changing Vultr VPS password
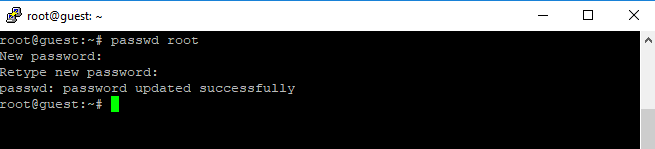
Since the password was provided to you by the hosting service it is recommended that you change your root password immediately for security reasons.
In the console window just type the following command and hit enter
passwd root
Now you’ll be asked to set a new password. Enter and confirm a new password for root access. Make sure the password is at least 12 characters long and contains numbers, letters and special characters. Also as we said you won’t see anything in the password field but once the password is confirmed you should see this success message which states “password updated successfully”.
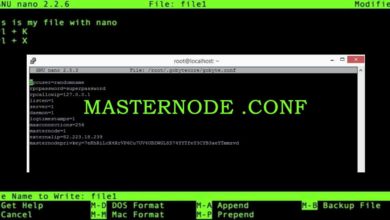
That’s it. Your server is up and running and is in your control. Now after the server has been deployed successfully we’ll need to install the necessary packages, run masternode installer, make collateral transaction and edit the config file accordingly to successfully setup and start the masternode. We’ll cover all these steps in a separate article.
For now go through this list of VPS and masternode commands which will make things easier in the future. Or if you have the collateral amount ready for your favorite masternode coin then search for setup guide online and start your masternode Today.

Really good article.
Can you do a follow up on how to cancel your masternode account on Vultr? Cheers.
Check out these two posts:
https://coinguides.org/disable-masternodes/
https://coinguides.org/linux-masternode-commands/